Beginner tutorial

Learn how to make your own pixel art, one pixel at a time

Start with a tiny canvas, draw a silhouette you can recognize, and add only the detail it needs. This guide walks through a first sprite by hand and shows how a pixel art generator can help you explore ideas without replacing careful editing.

Copy your prompt if needed at the partner site

Choose a project small enough to complete. Each of these starting points gives you a subject, a constraint, and a clear way to judge the result.

First-time artist

Draw a single fruit, key, or candle on a small square canvas. Gather a few pixel art ideas, then choose the subject whose outline is recognizable without texture.

A finished icon teaches silhouette, spacing, and contrast before you have to manage a whole scene. If the object only reads after you add highlights, simplify its outline and try again.
pixel art ideas

Sprite maker

Sketch a character standing still before attempting movement. A pixel art generator can suggest a direction, but keep the drawing on one consistent grid as you refine it.

A readable standing pose gives you a reference for later frames. Check the character at its intended display size, not only while zoomed in.

pixel art generator

Photo-based learner

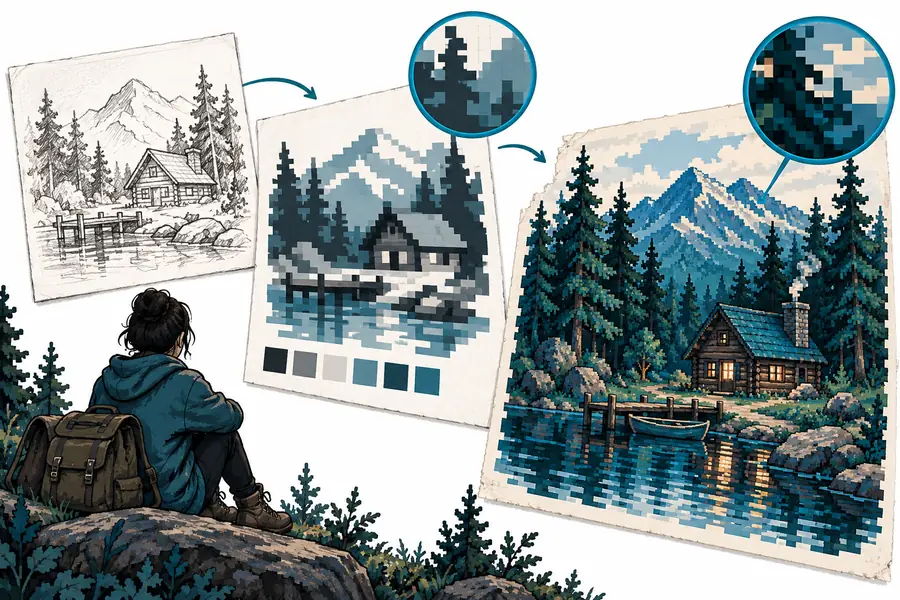
Use a photo for the object's proportions, not as a set of colors to copy pixel by pixel. An image to pixel art workflow can provide a rough draft to edit.

You can compare the draft with your source while deliberately removing small shadows, background clutter, and details that do not survive at sprite size.

image to pixel art

Grid planner

Plan a motif whose squares must be counted, such as a small tile or stitch chart. Mark the canvas dimensions before drawing and keep a separate record of the colors you choose.

The result is easier to revise when every mark belongs to a defined cell. A grid helps you count, but it does not decide which details matter.

pixel art generator with grid free

numbered steps

Finish one simple, static image before trying animation or a crowded background. The same sequence works whether you draw every pixel yourself or edit a generated draft.

  1. 1

    Set the canvas and block the shape

    Pick a small working grid, such as 32 by 32 pixels, and choose one subject. Draw its outside edge in a single dark color, filling broad masses before placing eyes, seams, or texture. Zoom out often: if you cannot identify the shape at its intended size, change the silhouette now. A pixel art generator may give you a composition to study, but redraw anything that depends on blurry edges or tiny marks.

  2. 2

    Choose a palette and place shadows

    Limit yourself to a few colors with distinct light and dark values. Put the light source on one side, then group shadow pixels into clear areas rather than scattering single dark squares everywhere. Reuse colors across related parts of the drawing so the sprite feels connected. If two neighboring regions merge when you zoom out, adjust their values or separate their outlines before adding another color.

  3. 3

    Clean, test, and save the result

    Inspect the drawing at high zoom for stray pixels, uneven stair-step edges, and accidental gaps. Then view it at actual size on both a light and a dark background; a sprite that looks polished while enlarged may disappear when reduced. Save an editable copy before exporting an image, and enlarge the export with nearest-neighbor scaling if you need a larger display. That keeps square pixels sharp rather than smoothing their edges.

common errors and fixes

A tutorial can show you what to inspect, but it cannot choose the best-looking pixel for every subject. Use these checks when a draft feels wrong.

1

It cannot rescue an unclear silhouette with detail

Extra highlights and texture often make a tiny drawing busier without making its subject easier to recognize. Even a promising pixel art generator draft can have this problem.

What to do instead

Temporarily fill the whole subject with one color. If the outline is ambiguous, widen important parts or remove protrusions before restoring the palette.

2

It cannot preserve every feature of a photograph

Hair strands, lettering, fine patterns, and subtle lighting compete for a limited number of cells. Shrinking all of them directly tends to create visual noise.

What to do instead

Choose two or three defining features and exaggerate those. Treat a photo or converted image as a reference to interpret, not a checklist of details to retain.

3

It cannot make smooth scaling behave like pixel scaling

A browser, editor, or export setting may blur the artwork when it is enlarged. The drawing can be clean on its original grid yet look soft in a preview.

What to do instead

Keep the original small file and inspect enlarged copies with nearest-neighbor scaling. Compare the displayed result with the editable source before making pixel-level changes.

advanced tips

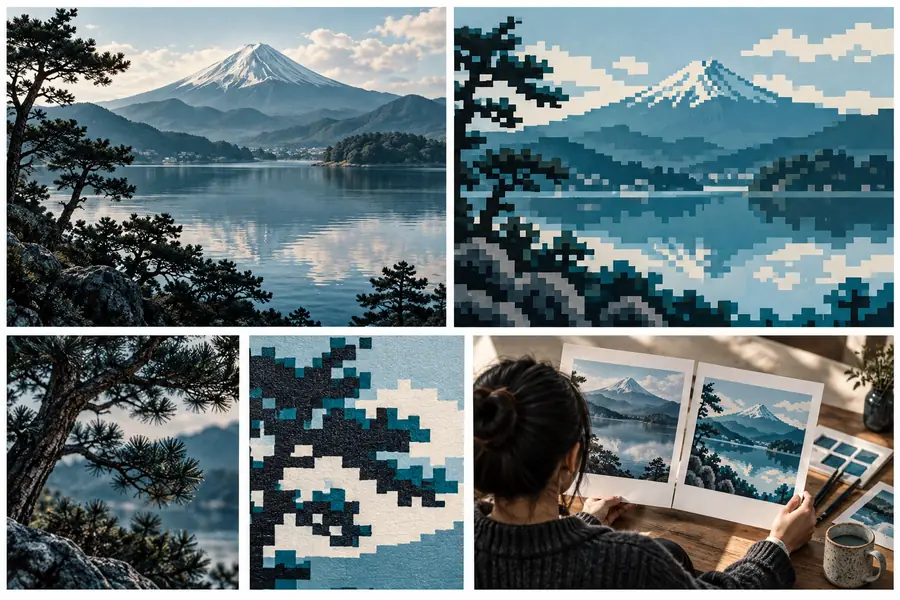
Once the basic sprite reads clearly, use references to study what was simplified—not to copy every visible mark.

Mount Fuji reference scene presented beside a pixel-style interpretation
Scene reference
Pixel-style Mount Fuji scene with simplified shapes and color areas
Pixel-style example

These are illustrative references, not a verified before-and-after conversion of the same file. Compare the mountain's outline, the size of its color regions, and which landscape details remain readable. When you make your own version, try a second pass that removes half the smallest marks. A restrained pixel art generator prompt can help you explore another composition, but judge the output at its intended display size.

Scene referencePixel-style example

You can make your own pixel art by starting with a clear shape and refining it one decision at a time. If you want another visual direction, use the partner site to explore an idea, then check its edges, palette, and readability against the steps above.

Take your sprite idea further

  • Begin with one recognizable subject
  • Keep the working grid and palette deliberate
  • Review the result at actual size
Explore sprite ideas

tutorial FAQ

Choose a small canvas and a simple subject, then draw a recognizable silhouette before adding color and detail. Work with a limited palette, check the image at actual size, and remove pixels that do not help it read. You can draw from scratch or edit a pixel art generator draft, but make the final decisions on the grid.

Try a fruit, a potion bottle, or another object with a distinct outline. A single object lets you practice shape and contrast without also solving perspective or a complex background. Choose something you can identify even when it is filled with just one color.

You need an editor that lets you place hard-edged pixels on a grid and view the result at its original size. A pixel art generator can be useful for exploring compositions, but it is not required to learn the drawing process. Whatever you use, keep an editable copy so you can fix individual pixels later.

Blur often comes from smooth scaling rather than the original drawing; try nearest-neighbor scaling when enlarging it. A messy image may have too many isolated pixels, colors with similar values, or an outline that is difficult to read. Check each issue separately by viewing the sprite at actual size and temporarily reducing its colors.

Start creating
Start creating