Simple starting point
Create with a pixel art generator free from setup friction
This pixel art generator free workflow helps you move from a short idea to a usable pixel-art concept without learning a full editor first.
Before you start
A lightweight generator is useful for exploring direction, but it is not a replacement for every part of a pixel-art workflow.
It cannot read an unstated idea
A vague request such as “make something cool” leaves the subject, mood, palette, and framing open to interpretation.
What to do instead
Name the subject, setting, visual mood, and one or two defining details.
It cannot guarantee exact sprites
A generated concept may not preserve precise dimensions, animation frames, collision boundaries, or game-ready placement.
What to do instead
Use the result as a visual reference, then refine technical sprites in an editor.
It cannot fix a weak source image
Small, blurry, crowded, or poorly lit references may lose important shapes during simplification.
What to do instead
Crop tightly, choose a clear subject, and describe which features must remain recognizable.
It cannot replace deliberate cleanup
Pixel art depends on intentional clusters, readable silhouettes, and controlled color choices that may need manual adjustment.
What to do instead
Inspect edges at high zoom and remove isolated pixels or muddy transitions.
One full run-through
The process stays short: define the visual target, review the first direction, then refine the parts that matter most.
-
1
Describe the target
State what should appear, where it belongs, and the feeling you want. Add constraints such as a limited palette, front view, simple background, or crisp edges.
-
2
Generate a first direction
Send the prompt through the console and treat the first result as a starting point rather than a finished asset. Check the silhouette and the main color groups first.
-
3
Refine with specific changes
Replace broad feedback with focused instructions: simplify the background, enlarge the subject, increase contrast, or preserve a particular feature.
What fails
The difference between a usable concept and a confusing one usually comes from prompt specificity and visual priorities.
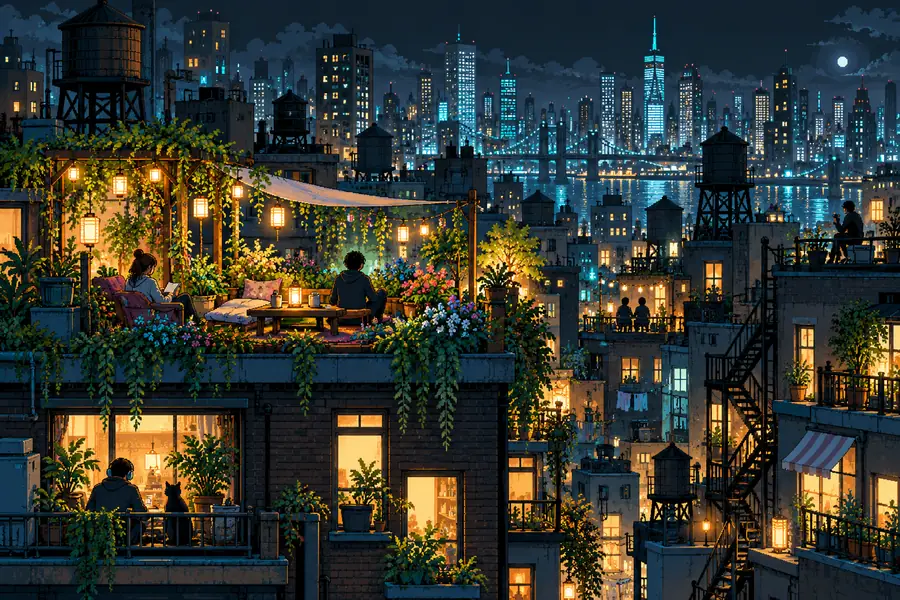
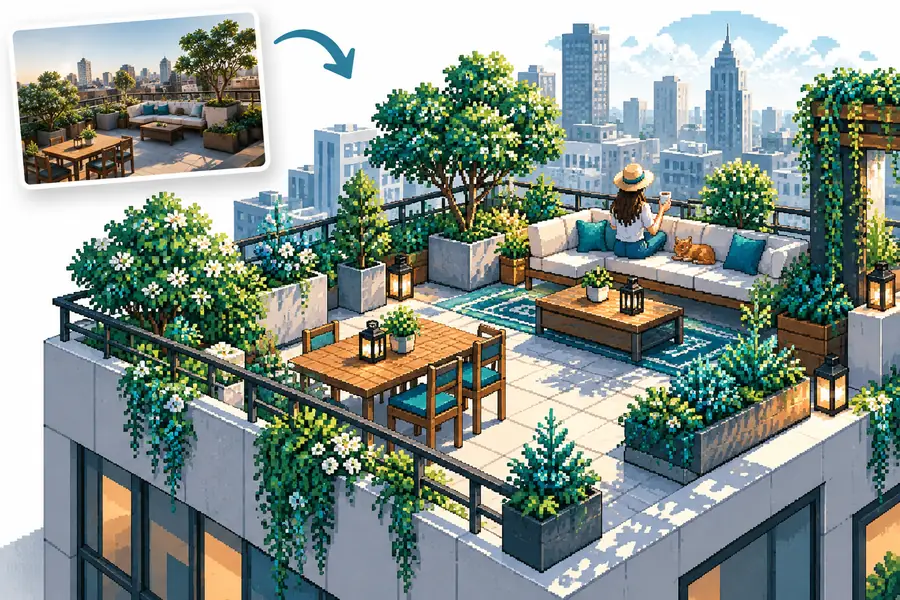
A clear subject gives the palette and silhouette somewhere to work.
Unfocused directionFocused directionDescribe a subject, setting, and visual constraint, then use the first result to discover what needs refinement. The shorter the brief, the more useful each specific detail becomes.
Start with one clear pixel-art idea
- Begin with the subject and composition
- Use constraints to guide the visual language
- Refine one visible problem at a time
Frequently asked questions
These answers cover the practical questions people ask before trying a lower-friction pixel-art workflow.
It is useful for exploring subjects, scenes, palettes, and visual directions before committing to detailed manual work. The result is best treated as a concept or starting reference unless it has been checked and refined for a specific project.
Yes, you can begin with a plain-language description of the subject and mood. Clear details about composition, color limits, and important features will usually produce a more useful direction than technical terminology alone.
The prompt may not establish a crisp pixel style, a restrained palette, or a simple silhouette. Ask for hard-edged pixel clusters, fewer colors, a clear subject, and less background detail, then review the result at high zoom.
Not automatically. A concept may need cleanup, resizing, palette adjustments, transparent-background work, animation planning, or checks against the technical requirements of your project before production use.