Minecraft artwork

Build Better Scenes with a Pixel Art Generator Minecraft Workflow

A pixel art generator minecraft workflow helps turn a landscape, build, or character reference into a compact scene with clear silhouettes, deliberate colors, and game-ready structure.

Describe the scene you want

Core workflow

From Minecraft Reference to Readable Pixel Scene

The most useful results come from reducing the scene in stages instead of trying to preserve every visual detail.

  1. 1

    Choose the focal subject

    Start with one clear subject such as a cabin, character, mountain, portal, or farm. Decide what should be recognized first when the image is viewed at a small size.

  2. 2

    Reduce forms and colors

    Replace small textures with blocky shapes, group similar tones, and keep the strongest light-dark separation around the main subject. This gives the scene a deliberate pixel-art rhythm.

  3. 3

    Check it at final size

    Review the result at the intended canvas size. Remove noisy marks, strengthen the outline where needed, and confirm that the Minecraft-inspired scene still reads without zooming in.

Planning table

Generator-Assisted Planning Compared with Manual Block Design

Both approaches can produce strong Minecraft-inspired artwork. The better choice depends on whether you need exploration, precision, or a repeatable starting point.

Generator-assisted start Manual block design
First move Describe or provide a scene reference, then inspect the suggested composition. Place the canvas, grid, silhouette, and palette by hand.
Scene exploration Useful for testing several moods, viewpoints, and subject arrangements quickly. Usually slower to revise because each structural change is manual.
Exact block placement Needs a careful cleanup pass when every tile must follow a strict layout. Direct control over each pixel, tile, and repeated pattern.
Color discipline Can suggest a starting palette that still needs trimming for consistency. The artist controls every swatch from the first mark.
Recognizable silhouette Helpful for finding a strong overall shape before detailing. Depends on the artist establishing the silhouette deliberately.
Final polish Best treated as a draft or reference for cleanup and editing. Better suited to exact sprite sheets, tile maps, and production-ready edits.

Visual check

Compare the Reference with the Pixel-Style Result

A before-and-after check makes it easier to see which shapes survived simplification and which details should be removed.

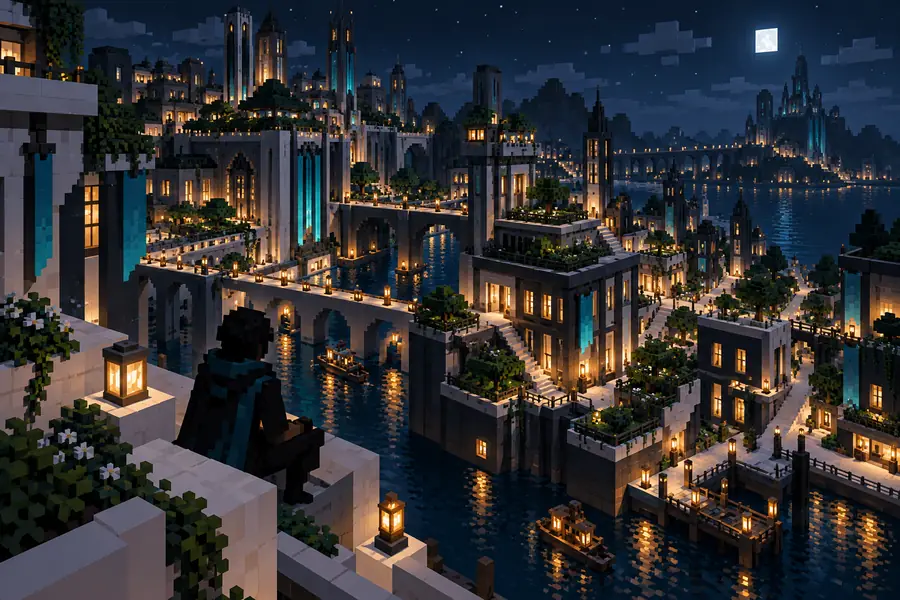
Night city reference scene
Reference scene
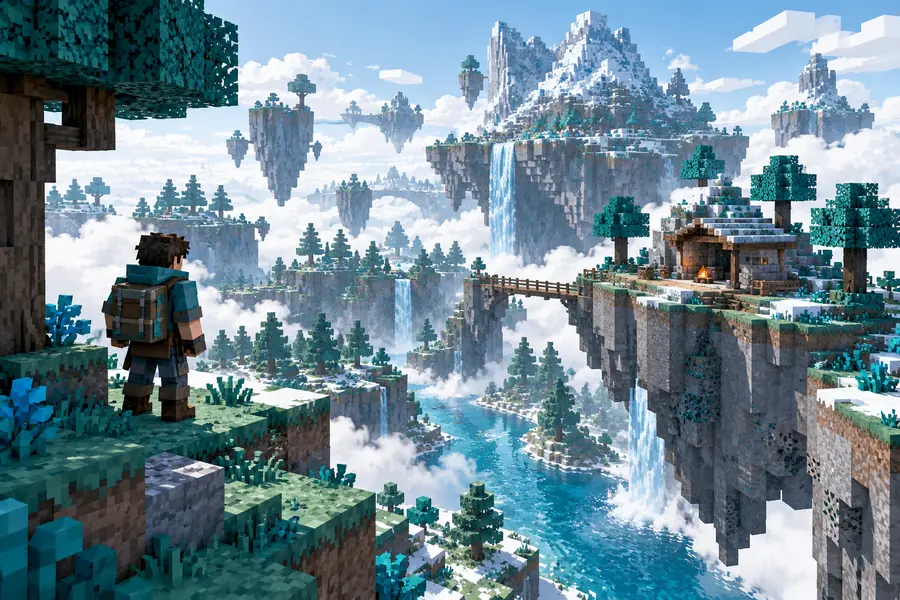
Blocky pixel-style environment result
Pixel-style result

Keep the focal shape clear before adding texture. A Minecraft scene feels intentional when the silhouette and value groups remain readable at a glance.

Reference scenePixel-style result

Practical uses

Useful Starting Points for Minecraft-Inspired Scenes

A generator is most helpful when it gives each type of project a clear visual starting point rather than trying to finish every detail automatically.

World builder

You want a compact preview of a village, cave entrance, fortress, or mountain base before building it in a larger world.

Use the generated composition to test the viewpoint, major landmarks, and light direction before committing to the full build.

pixel art ideas

Sprite designer

You are sketching a character, creature, tool, or item inspired by a block-based game aesthetic.

Start with a strong silhouette and a limited palette, then refine the small features manually at the final size.

image to pixel art 32x32

Texture planner

You need a visual reference for stone, wood, foliage, water, or a repeating environmental surface.

Compare broad color groups first, then use a grid-focused workflow to make repeated details consistent.

pixel art generator with grid free

Content creator

You want a thumbnail, banner concept, or small scene that communicates a Minecraft-style theme without copying a full game screenshot.

Use a clear subject, controlled contrast, and a short prompt so the result stays easy to recognize and adapt.

image to pixel art online

Describe the subject, setting, mood, and approximate canvas you have in mind. Use the result as a visual draft, then inspect the silhouette, palette, and small details before making your final edits.

Start with One Minecraft Scene

  • Name one focal subject
  • Choose a simple setting
  • Review the result at working size
Generate pixel art

Pixel Art Generator Minecraft FAQ

It can help suggest scenes such as cabins, villages, landscapes, characters, portals, and environmental props. Treat the output as a visual starting point, especially when you need exact tile placement or a production-ready sprite.

Name the main subject first, then add the setting, viewpoint, lighting, mood, and approximate size. A focused prompt such as a small cabin beside a spruce forest is usually easier to refine than a description containing many unrelated objects.

Yes, it can serve as a composition reference for layout, silhouette, color grouping, and lighting. Check the proportions and details yourself before translating the image into blocks, because a generated picture does not automatically provide an exact build plan.

A grid is useful when you need consistent pixel placement, repeated tile patterns, or a fixed small canvas. It is especially helpful during the cleanup stage, after you have chosen the main composition and reduced unnecessary detail.

A clear silhouette, a limited palette, and strong separation between foreground and background usually matter more than tiny texture marks. View the scene at its intended size and remove details that compete with the main subject.

Start creating
Start creating